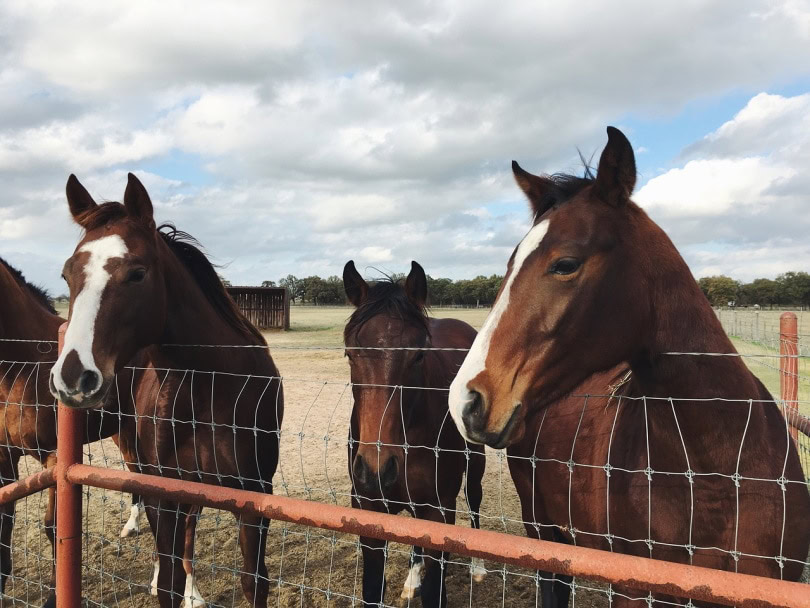
If you have horses, keeping them behind an electric fence will provide them (and you) with many benefits.1 To start with, an electric fence is relatively easy to install because of its light construction. Unlike many other types of fencing, it is more likely to keep trespassers and predators at bay. Also, the mild shock that horses feel when touching an electric fence encourages them to stay away and thus lowers their risk of injury.
If you want to install an electric horse fence but don’t know where to start, we have all the information you need here! This tutorial will show you how to do it step by step, making the whole task easier. Just be sure to follow all the instructions in the order given so you won’t run into any hiccups during installation.

The 5 Steps for Installing an Electric Fence for Horses
1. Measure the Area
The first order of business is to measure the area that you want to fence so you’ll know how much material to buy. Multiply that number by how many wire strands you plan on installing.
Tip: Two strands of electric wire are enough for horses if you’re putting up an electric fence in conjunction with a wood fence, which is the preferred method of most horse owners.
2. Collect Your Materials
In addition to strands of electric wire, you should have a post insulator for each post. You also need a corner insulator for each corner and an electric fence gate fastener for your gate. Do a bit of basic math to determine how many insulators you need to buy.
Of course, you’ll need a fence charger that has enough amperage for the amount of electric wire that you’re putting in. Fence chargers can be solar-powered, electric, or battery-powered, so pick the option that’s right for you.
Another item you’ll need is a ground rod that should be driven into the ground next to the fence charger; make sure to only leave about 2 inches above the ground for attaching the ground wire. Once you have all your materials on hand, it’s time to get busy installing your electric horse fence!
3. Attach the Insulators and Install the Fence Charger
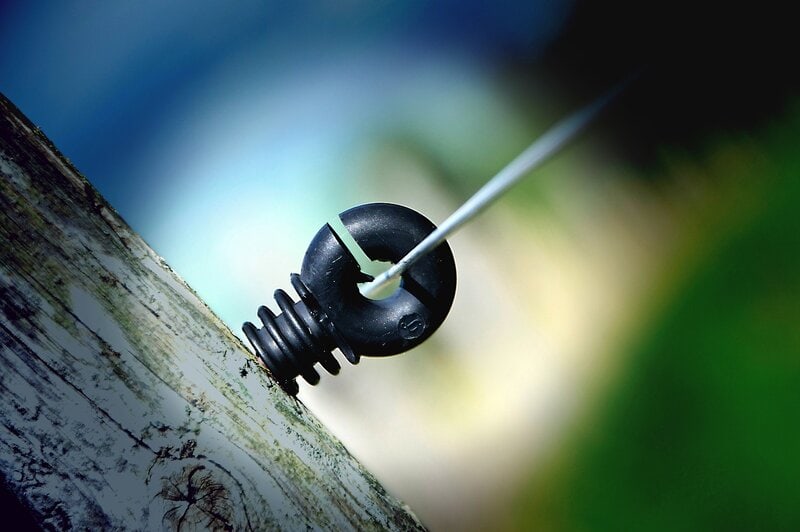
Begin the job of installing your fence by attaching two insulators to each wooden post. Be sure to put them in between the wooden rails and position them at the correct height for horses. The top strand of electric wire should be about 50 inches high. The spacing between the two strands should be about 12 inches, leaving 24 inches between the ground and the bottom strand. Use a measuring tape to ensure you attach the insulators correctly to each post.
When you have all the post insulators in place, it’s time to install the corner insulators, which will require wire or twine to secure them properly. You’ll notice that the corner insulators will be loose at first, but don’t worry! When you run the electric wire through them, they’ll tighten up.
Once all the insulators are in place, install the fence charger and then attach the ground wire to the grounding rod. Once that is done, it’s time to move on to the next step.
4. Run the Electric Wire Around the Perimeter of the Fence
Starting the farthest away from your fence charger, start running the wire toward the charger so it can be connected to it. Simply wrap the wire around the first insulator, using crimpers to make sure it’s snug. Then go on to the next insulator and so on, until you come to a corner. Then it’s just a matter of running the wire through the corner insulator as you move on to the next post insulator and so forth.
Finally, make sure the fence charger is off so you can connect the wire to the charger’s positive terminal. To run the second strand of wire, which is recommended for horses, splice a new piece of wire on the main strand by twisting the two strands tightly together using your hands or splicers.
5. Attach the Gate Fastener
The last step involves attaching the electric gate fastener to the gate by following the directions provided by the brand you buy. Take your time and follow the directions carefully so you don’t run into problems.
If you choose to run the wire under the gate, do so by placing the wire inside a section of sliced garden hose that you can bury in the ground so it runs from one side of the gate to the other and sticks up about an inch out of the ground.
The underground wire method requires a little more work because you must attach a tall piece of wood to each gate post so the wood sticks up in the air at about 5 feet in height. The next step involves attaching an insulator to each piece of wood so you can run the wire up and over the gate to keep the electrical charge going.
Standalone Electric Fences Aren’t Great for Horses
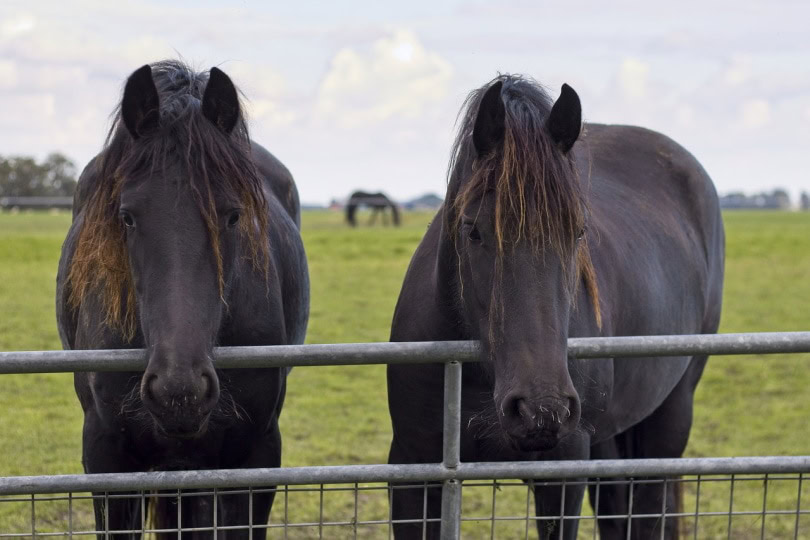
While you can put up a standalone electric fence for horses that involves using metal posts, it’s not the best idea. The metal posts can be dangerous to horses and the electrified wire alone is not highly visible, which means your horses may inadvertently run into it. If you truly feel the need to install just an electric fence, at least put plastic caps on top of the metal posts or tie colored ribbons onto the electric wire so your horses can see it.

Conclusion
Even though it takes a bit of time, installing an electric fence for horses isn’t that difficult. If you’re going to undertake this task, follow the step-by-step directions here so your fence installation is successful!
When it’s time to purchase the materials that you need, take the time to shop around because it’s easy to find sales on spools of electric wire, fence chargers, etc. If they could, your horses would thank you for thinking about their safety and security!
You might also be interested in:
Featured Image Credit by paulbr75, Pixabay