Hamsters are very active animals known to jump and roll and explore every part of their enclosure for most of the time they are awake. On that note, you should make sure that they have a lot of space and cage enrichment that they can explore. Sometimes buying a cage with a lot of tunnels and systems isn’t the only solution. You can also make your own DIY tunnels and systems that can serve their purpose just as well as commercial ones.
Stay with us because we will give you ideas on how to make them the best way possible.

The 5 DIY Hamster Tunnels & Tube Systems
1. DIY Hamster Hideout with Tunnels by VictoriaRaechel

| Materials: | Cardboard |
| Tools: | Pencil, ruler, box cutter, scissors |
| Difficulty Level: | Easy |
This Hamster Hideout DIY project is an adorable idea for offering your hamster a little privacy, paired with some entertaining tunnels. It is effortless to make with just one large piece of cardboard and some cutting tools. It will fit nicely in the enclosure and will ensure your hamster spends a lot of time enjoying its peace and privacy. You can also customize it to appear more natural with some decor pieces, such as gluing straws on the walls, or you can leave a simple and clean look.
2. Homemade Tissue Box Hamster Tunnels by hamsters101
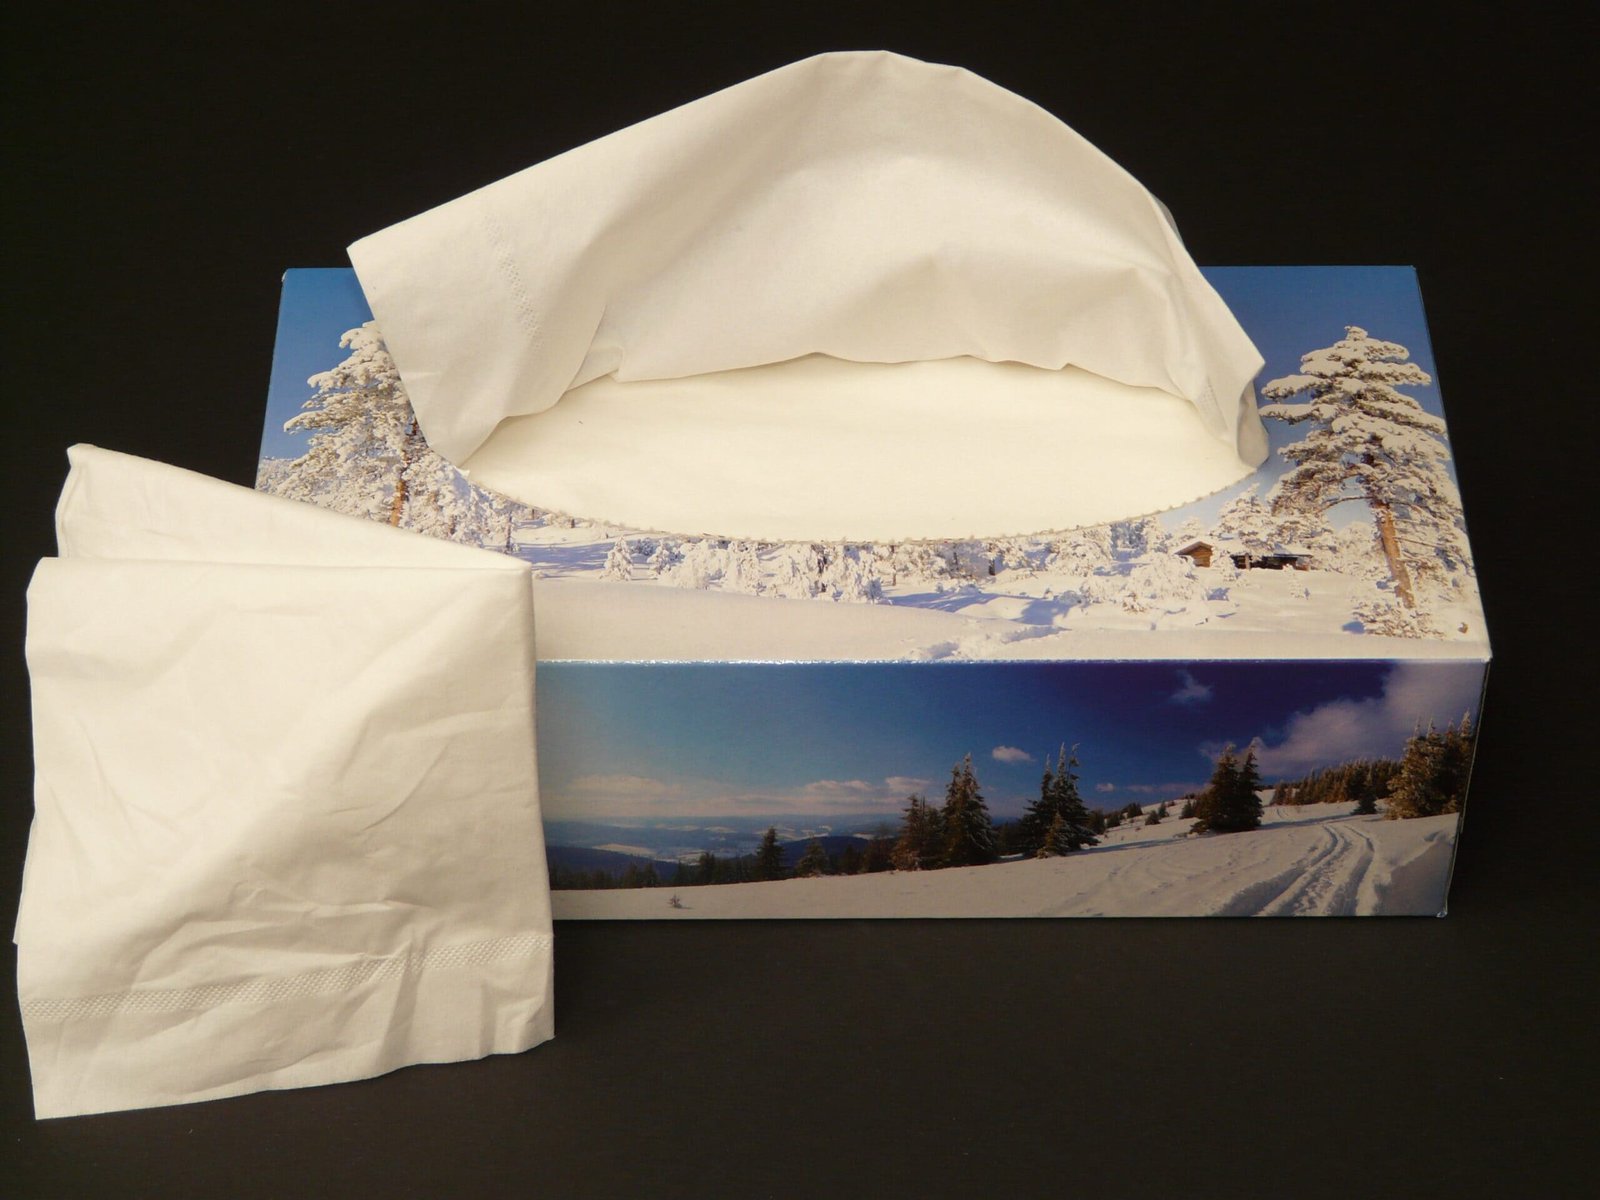
| Materials: | Toilet paper rolls, paper towel rolls, tissue boxes, non-toxic paint, tape |
| Tools: | Scissors, pencil, ruler |
| Difficulty Level: | Easy |
This Homemade Tissue Box Hamster Tunnels plan is a very easy and cute idea for upgrading your hamster’s enclosure and providing a cute hideout. It is as simple as taping several parts together, where the toilet paper rolls and the paper towel rolls will be the spacious tunnels, and the tissue box will be the hideout area. The best part about this tutorial is you can make it as large or as small as you would like, with as many tunnels as you need.
The tissue box can become an excellent little hideout for your hamster, where they can spend their nights safely hidden from the world.
3. DIY Hamster Tube Maze by wikihow

| Materials: | Cardboard tubes in various sizes, tape, non-toxic paint |
| Tools: | Knife or craft scissors |
| Difficulty Level: | Easy |
This Hamster Play Tube Maze is another very creative DIY project, which also includes connecting tubes to an upcycled tissue box. If you’ve got an old tissue box lying around, you can give it a new purpose instead of throwing it out. Cutting several holes in the box allows you to glue cardboard tubes onto it, creating a maze for your hamster. This cardboard maze will keep your hamster entertained while providing a secure shelter.
It is an incredibly easy tutorial, and to add even more spark and charm to it, you can paint it with some non-toxic paint that is safe for pets.
4. DIY Donut Hamster Tunnel by SomethingAnimal
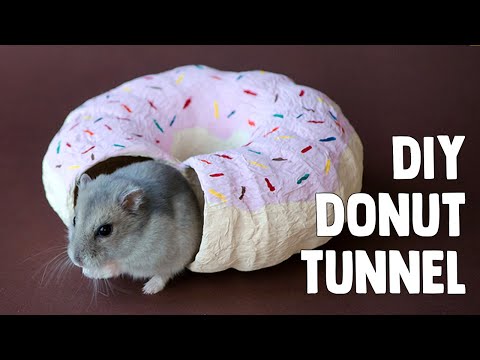
| Materials: | One toilet paper roll, PVA glue, paper, water and flour mixture, non-toxic paints |
| Tools: | Pencil, box cutter, ruler, paintbrush |
| Difficulty Level: | Easy |
This Donut Hamster Tunnel is probably the cutest project on our list and you can complete it in under an hour. Using the paper mâché technique and one toilet paper roll, you can craft a small DIY tunnel that appears like a donut for your hamster. Just by cutting the toilet paper roll in a certain way, you can get a long round tunnel perfect for a hamster to crawl through.
With a little creative touch, you can make this tunnel look like a delicious donut, making this project even more adorable.
5. Recycled Plastic Bottles Hamster Maze by hamsterdiaries

| Materials: | Empty plastic drinks bottles |
| Tools: | Electrical tape, box cutter, scissors |
| Difficulty Level: | Easy |
This Hamster Maze made with recycled plastic bottles is a beautiful idea for using your plastic scrap and giving it a new purpose. It includes using several plastic bottles, large enough for your hamster to crawl through them as tunnels. Plastic bottles will make perfect hamster tubes because you can cut them and customize them into whichever shape you want. Connecting the tubes with electrical or insulating tape lets you get long tunnels that are entirely safe for your hamster. Make sure to cover each cut in the bottle with electrical tape to cover up any rough or sharp edges.
This tutorial is straightforward and affordable, eliminating the need for expensive plastic hamster tunnels.

Final Thoughts
After learning about several ways to make a tube system for your hamster, you won’t have to worry about expensive toys anymore. Some of these excellent tutorials include hideouts for your hamster, which is ideal for when they just want to escape and cuddle up.
Follow these instructions carefully, and even tweak and upgrade them to fit your home and hamster!
You Might Also Be Interested In:
- DIY Hamster Cage
- 8 Fun DIY Hamster Playgrounds You Can Make at Home (With Pictures)
- 6 DIY Hamster Mazes You Can Make at Home (With Pictures)
Featured Image Credit: Rigoni Barbara, Shutterstock
Contents
- The 5 DIY Hamster Tunnels & Tube Systems
- 1. DIY Hamster Hideout with Tunnels by VictoriaRaechel
- 2. Homemade Tissue Box Hamster Tunnels by hamsters101
- 3. DIY Hamster Tube Maze by wikihow
- 4. DIY Donut Hamster Tunnel by SomethingAnimal
- 5. Recycled Plastic Bottles Hamster Maze by hamsterdiaries
- Final Thoughts