Bearded dragons are known for their adventurous, social nature, which makes them very popular pet reptiles. It’s encouraged to take your bearded dragon to safe spots for exploring indoors and outdoors, but sometimes having the guarantee that your beardie won’t head for the hills is nerve-wracking. The easiest and safest way to take your bearded dragon out for exploration without escapes is with a harness and leash.
However, you can’t really use cat and dog harnesses on bearded dragons for obvious reasons, and sometimes, it can be challenging to find harnesses made for bearded dragons in pet stores. You’re in luck because you can make harnesses at home with supplies you likely already have around the house or can find at your local craft store.

The Top 4 DIY Bearded Dragon Harnesses
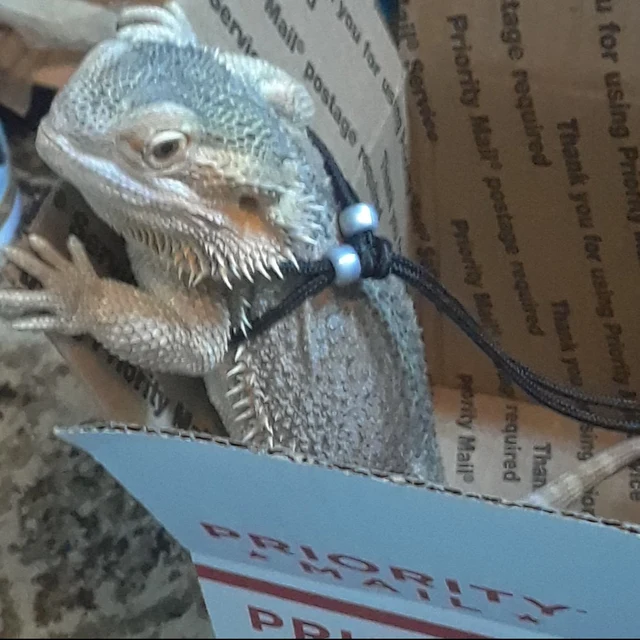
1. Beaded Harness
- 6–10 feet of paracord or other non-fraying cord (more is best)
- Pony beads or adjustable cord stops
- Soft material for a handle (optional)
- Fold the paracord in half to form a loop at one end and two loose ends at the other.
- Pass the two layers of cord through pony beads or cord stops stopping about 4–6 inches from the loop end of the cord. You’ll want to add at least two or three beads or stops down the length of the cord about 4–6 inches from each other. This will leave you with a looped end and two loose ends with the cords “connected” to each other via the beads.
- Pass the loose ends of the cord through the looped end, passing everything through until you reach the last two beads closest to the loop, which you’ll leave not passed through the loop.
- Tighten the last bead as far as possible, which will trap the cord and create a circle.
- At the loose end of the cord, you can either attach a handle of your choosing or use the beads to run the loose ends through in opposite directions, using the beads to create an adjustable handle in the cord.
- To put this harness on your bearded dragon, start by slipping the bottom loop of the harness over its head. You’ll be holding the harness perpendicular to your beardie’s body. Then, spread apart the two layers of cord, slipping your beardie’s front legs in between them. This will leave a layer of cord in front of the legs and one behind the legs. You can now use the beads to adjust the harness loop to fit your bearded dragon. You will be able to adjust the tightness of the harness and the leg holes using the beads.
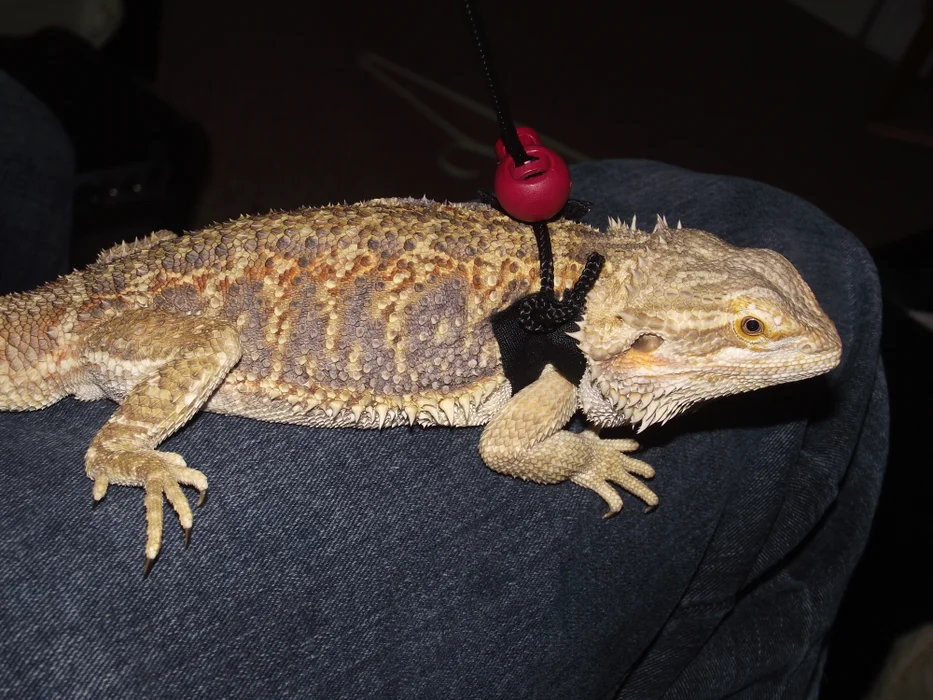
2. Non-beaded Harness

- 6–10 feet of paracord or other non-fraying cord, decorative beads (optional)
- Soft material for a handle (optional)
- Fold the paracord in half so that you have a loop at one end and two loose ends at the other.
- Slip your bearded dragon’s front legs between the two layers of cord.
- Pass the loose ends of the cord through the loop created at the end of the cord so that as you pull the loose ends tight around your beardie’s body.
- You can use decorative beads if you want to. You can also add a handle or use the beads to create a handle at the loose end. This harness is looser than the beaded harness, so keep a close eye on slack in the line that may allow your beardie to slip out.
3. Slip Knot Harness

- 6–10 feet of paracord or other non-fraying cord
- Soft material for a handle (optional)
- Tie two regular knots toward one end of the cord. The first knot should be about 6 inches away from the end, and the second knot should be about 6 inches from the first knot.
- Fold the end of the cord back to create a loop at one end with the two knots stacked on top of each other.
- Loop the 6-inch length of cord at the end so that it creates a second loop with the two knotted pieces. This will leave you with a section of doubled-up cord.
- Use the rest of the cord that isn’t in the loop to tie a slip knot, connecting all the stacked layers of the cord together. This will leave you with two adjustable loops at one end of the cord.
- At the loose end of the cord, you can attach a handle or make a handle.
- Now you can slip your bearded dragon’s head through the loop, tucking their legs between the two layers of cord. The slip knot allows you to adjust the cord to fit securely.
Note: You can make this harness with regular knots and without slip knots, but you will need accurate measurements of your bearded dragon’s chest and neck girth to ensure you don’t tie the knots in a way that will make the harness too small or large enough that your beardie can easily escape it.
4. Vest Style Harness
- Sturdy fabric that won’t tear or fray (leather, faux leather, felt, etc.)
- 5–6 feet of paracord or other non-fraying cord
- Eyelets (optional)
- Soft material for a handle (optional)
- Pony bead or adjustable cord stop (optional)
- Measure the circumference of your bearded dragon just behind their front legs and measure the distance between the front legs.
- Cut a strip of fabric about 1–2 inches wide and ½–1 inch longer than the circumference you measured.
- Cut out leg holes at the appropriate distances from the center of the fabric based on the distance between the front legs that you measured.
- Cut holes large enough for the cord to pass through toward the far edges of the fabric strip. If using eyelets, install them in these holes.
- Slip the cord through the holes/eyelets toward the end of the fabric and pull until you have two equal lengths of cord at the opposite end. If you want to, you can slip a bead or cord stop down the length of the cord just above the fabric strip. This will allow you to adjust the harness as needed. You can attach a handle or make a handle at this end of the cord, creating a leash.
- To put this on your bearded dragon, tuck their front legs through the leg holes so the strip of fabric is sitting securely across their chest and around to the shoulders. The cord will allow you to tighten or loosen the vest you’ve created. If you add a bead or cord stop, you can adjust the fit of the vest.
Final Thoughts
Taking your bearded dragon on adventures can be fun, exciting, and enriching for both of you, but always do it safely. Using a harness will allow you peace of mind, knowing that your beardie is safe while exploring. A DIY harness will allow you to adjust the fit of the harness to suit your beardie’s specific size and body shape. A better fit equals a more secure harness, so DIY harnesses can, in some cases, be even better than store-bought designs. Just make sure you check and double-check your measurements, fit, and ends that may come loose before taking your bearded dragon out in the new harness you’ve made.
Looking for more bearded dragon information?
- German Giant Bearded Dragon
- Do Bearded Dragons Like Music?
- How to Travel With Your Bearded Dragon: A Stress-Free Guide
Featured Image Credit: KeraMik, PixabayIma