VET APPROVED

The information is current and up-to-date in accordance with the latest veterinarian research.
Learn more »Click to Skip Ahead
Ticks are the bane of cat (and dog) owners around the world, as a tick can cause serious illnesses if not removed from your cat before it starts feeding from them, usually within 24 hours after it attaches. These illnesses are not only terrible for your feline, but ticks can also harbor serious illnesses for humans, including Lyme disease.1 This is why removing a tick safely and quickly is vital for your cat, you, and your family.
If your cat spends any amount of time outdoors and doesn’t receive any form of external parasite prevention, they’ll likely come home with a tick attached at some point. In this article, we outline how to remove the tick safely and easily. Let’s get started!

The 6 Steps for Removing a Tick From a Cat
1. Use the Proper Tools
In order to remove a tick properly, you’ll need the correct tools. Attempting to remove a tick with your fingers is not a valid option. It may leave the head of the tick embedded in your cat’s skin, where it can cause infection and even continue to cause potential illness.
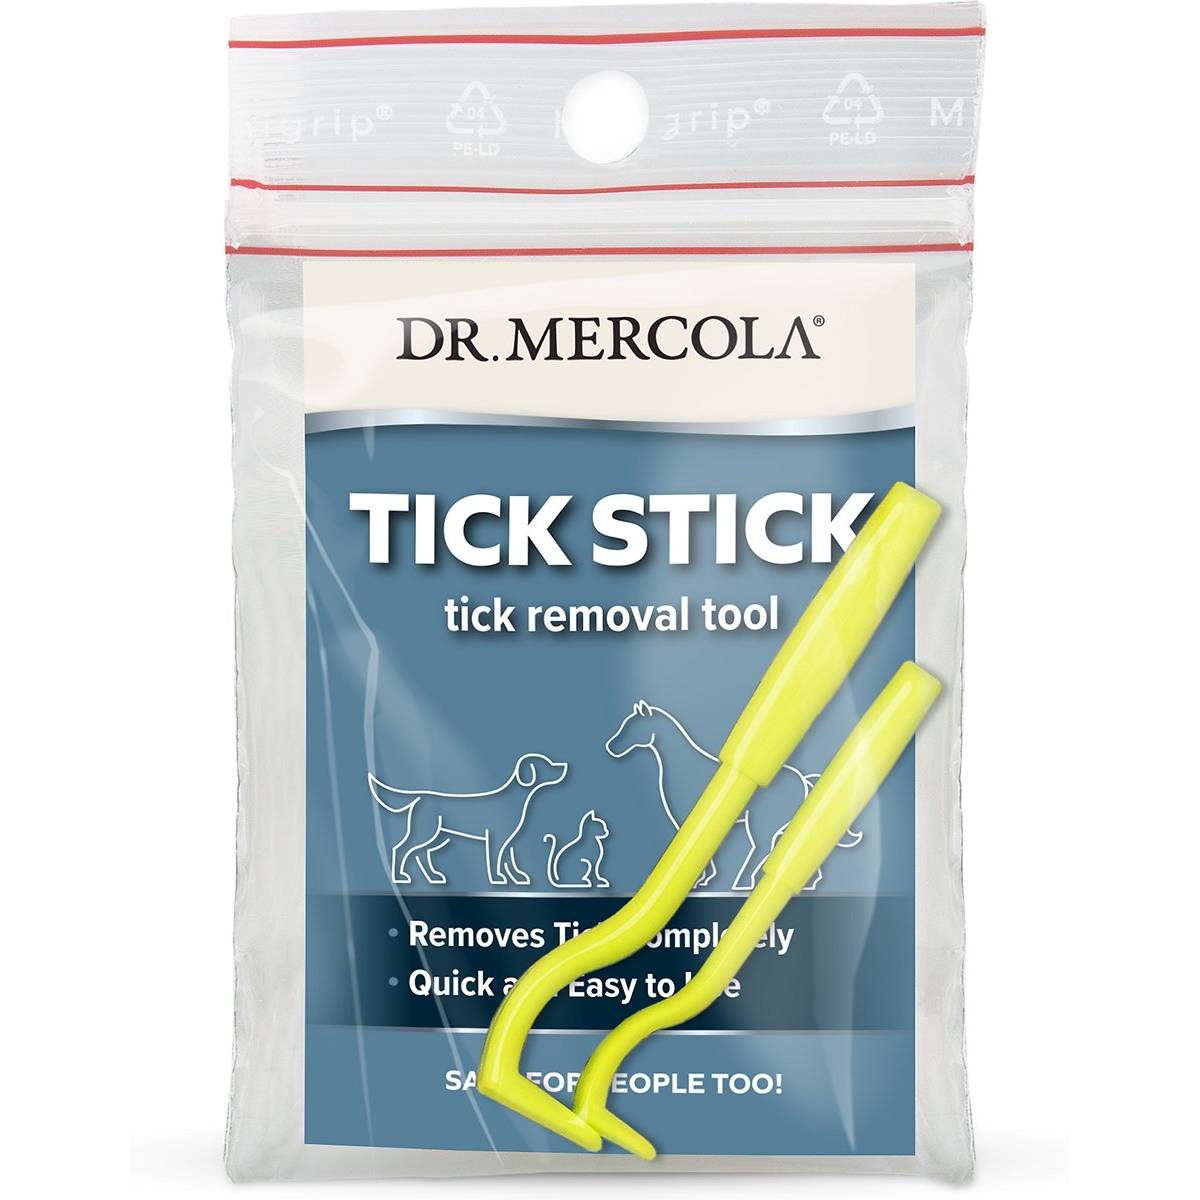
To remove it properly, you’ll need a fine-tipped pair of tweezers or even better, a specialized tick removal tool. Tweezers can get the job done, but you can still easily pop the tick and leave the head behind, so purpose-built tick removal tools are best. You also need a pair of disposable gloves to avoid diseases and potential blood, a sealable container to place the tick into, and antiseptic wipes or a wet cloth.

2. Locate the Tick
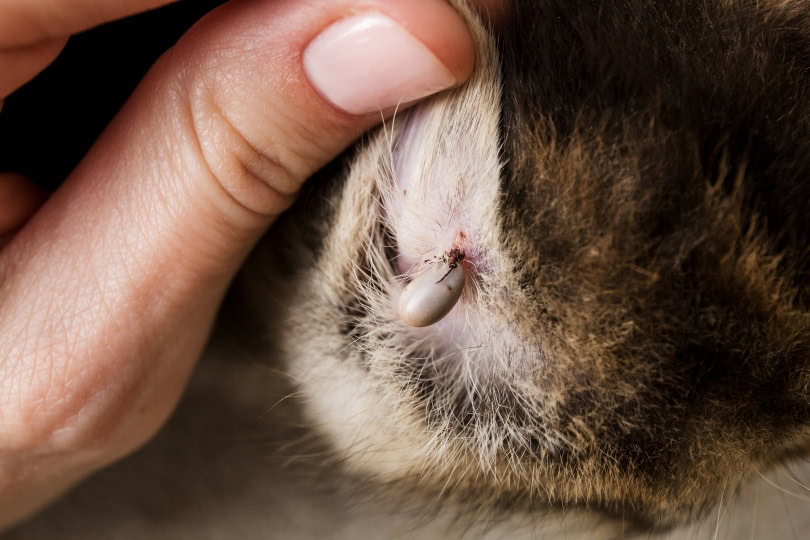
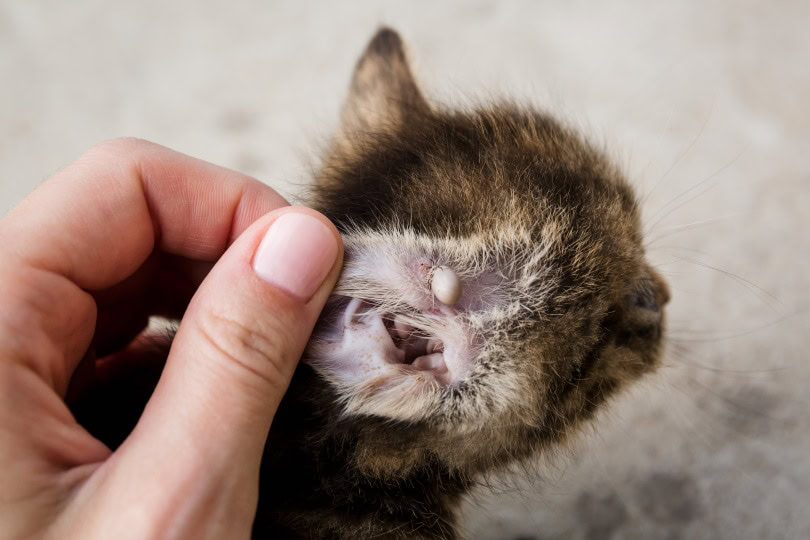
You may want to get another family member or friend to help you hold your cat while you locate the tick and prepare the area for removal. Make sure that your cat is kept as calm as possible and that you are in a well-lit area so you can locate the tick quickly—some ticks are tiny and difficult to spot.
Luckily, once a tick is attached to the skin, it will not move around much. Make sure to part the hair around the tick to avoid pulling any out with the tweezers and hurting your cat—this is why it’s easier if someone is close by to help you.

3. Remove the Tick
If you are using a tick removal tool or tick fork, read the instructions on the package. Grab the tick with your tool as close to where the head of the tick meets your cat’s skin as possible to avoid leaving the head stuck. Once you have placed the slit in the device around the head of the tick, twist the device in your preferred direction several times until you feel that the tick is not attached anymore. Gently pull away the device with the tick in it.
If you cannot get a tick removal tool, you can use tweezers instead, but this is not the ideal method. Try to avoid squeezing the tick too tightly to prevent crushing it and leaving the head behind. However, you should squeeze tightly enough that the tick comes out easily.
Pull the tick straight up and out without any twisting—some can attach harder than you’d imagine, so this may be trickier than you think. The tick will eventually release and may cause slight pain for your cat, so be prepared for them to squirm a bit.

4. Dispose of the Tick Safely
Place the tick into a sealed container, preferably filled with isopropyl alcohol if possible, as this will kill it easily. If you don’t have alcohol available, soapy water may kill it, but make sure the tick is dead before you dispose of it so it will not reattach to your cat or another pet later. Dispose of the sealed container safely; you can throw it in the trash or burn it.
5. Clean the Bite
Once the tick has been removed, you’ll need to clean the bite area with an antiseptic wipe or soap and water to prevent infection. Be as gentle as possible, as this will likely sting and cause discomfort for your cat, but it is an essential step to prevent further infection.

6. Watch for Signs of Illness
Even after the tick has been removed, there is still a potential chance of illness because you may not be sure how long the tick was attached. Keep an eye out for signs like loss of appetite, listlessness, yellow or orange gums (jaundice), and labored breathing, and take your cat to the vet right away if you notice any of these signs.

Prevention Is Better Than the Cure
If you have a cat that spends a great deal of time outdoors, especially during spring and summer, when ticks are prevalent, it’s best to invest in tick-prevention products like tick collars, spot treatments, or chewables. These products will help prevent ticks from attaching in the first place and can help with fleas too.


Conclusion
Prevention is certainly better than the cure, but there are still times when your cat may get a tick attached, and you’ll need to remove it as soon as possible. It can take as little as 24 hours for your cat to get ill from a tick, so removing it safely and as soon as possible is essential. With a few simple tools and help from a family member or friend, the process should take less than a few minutes and leave your cat (and you) feeling much safer and better!
You May Also Be Interested In:
Featured Image Credit: Hanna Taniukevich, Shutterstock


