Click to Skip Ahead
Cardiopulmonary resuscitation (CPR) is a lifesaving technique that is useful in instances when an individual’s breathing or heartbeat has stopped. It is an important skill that can be a lifesaver in an emergency and can be practiced on humans and animals alike.
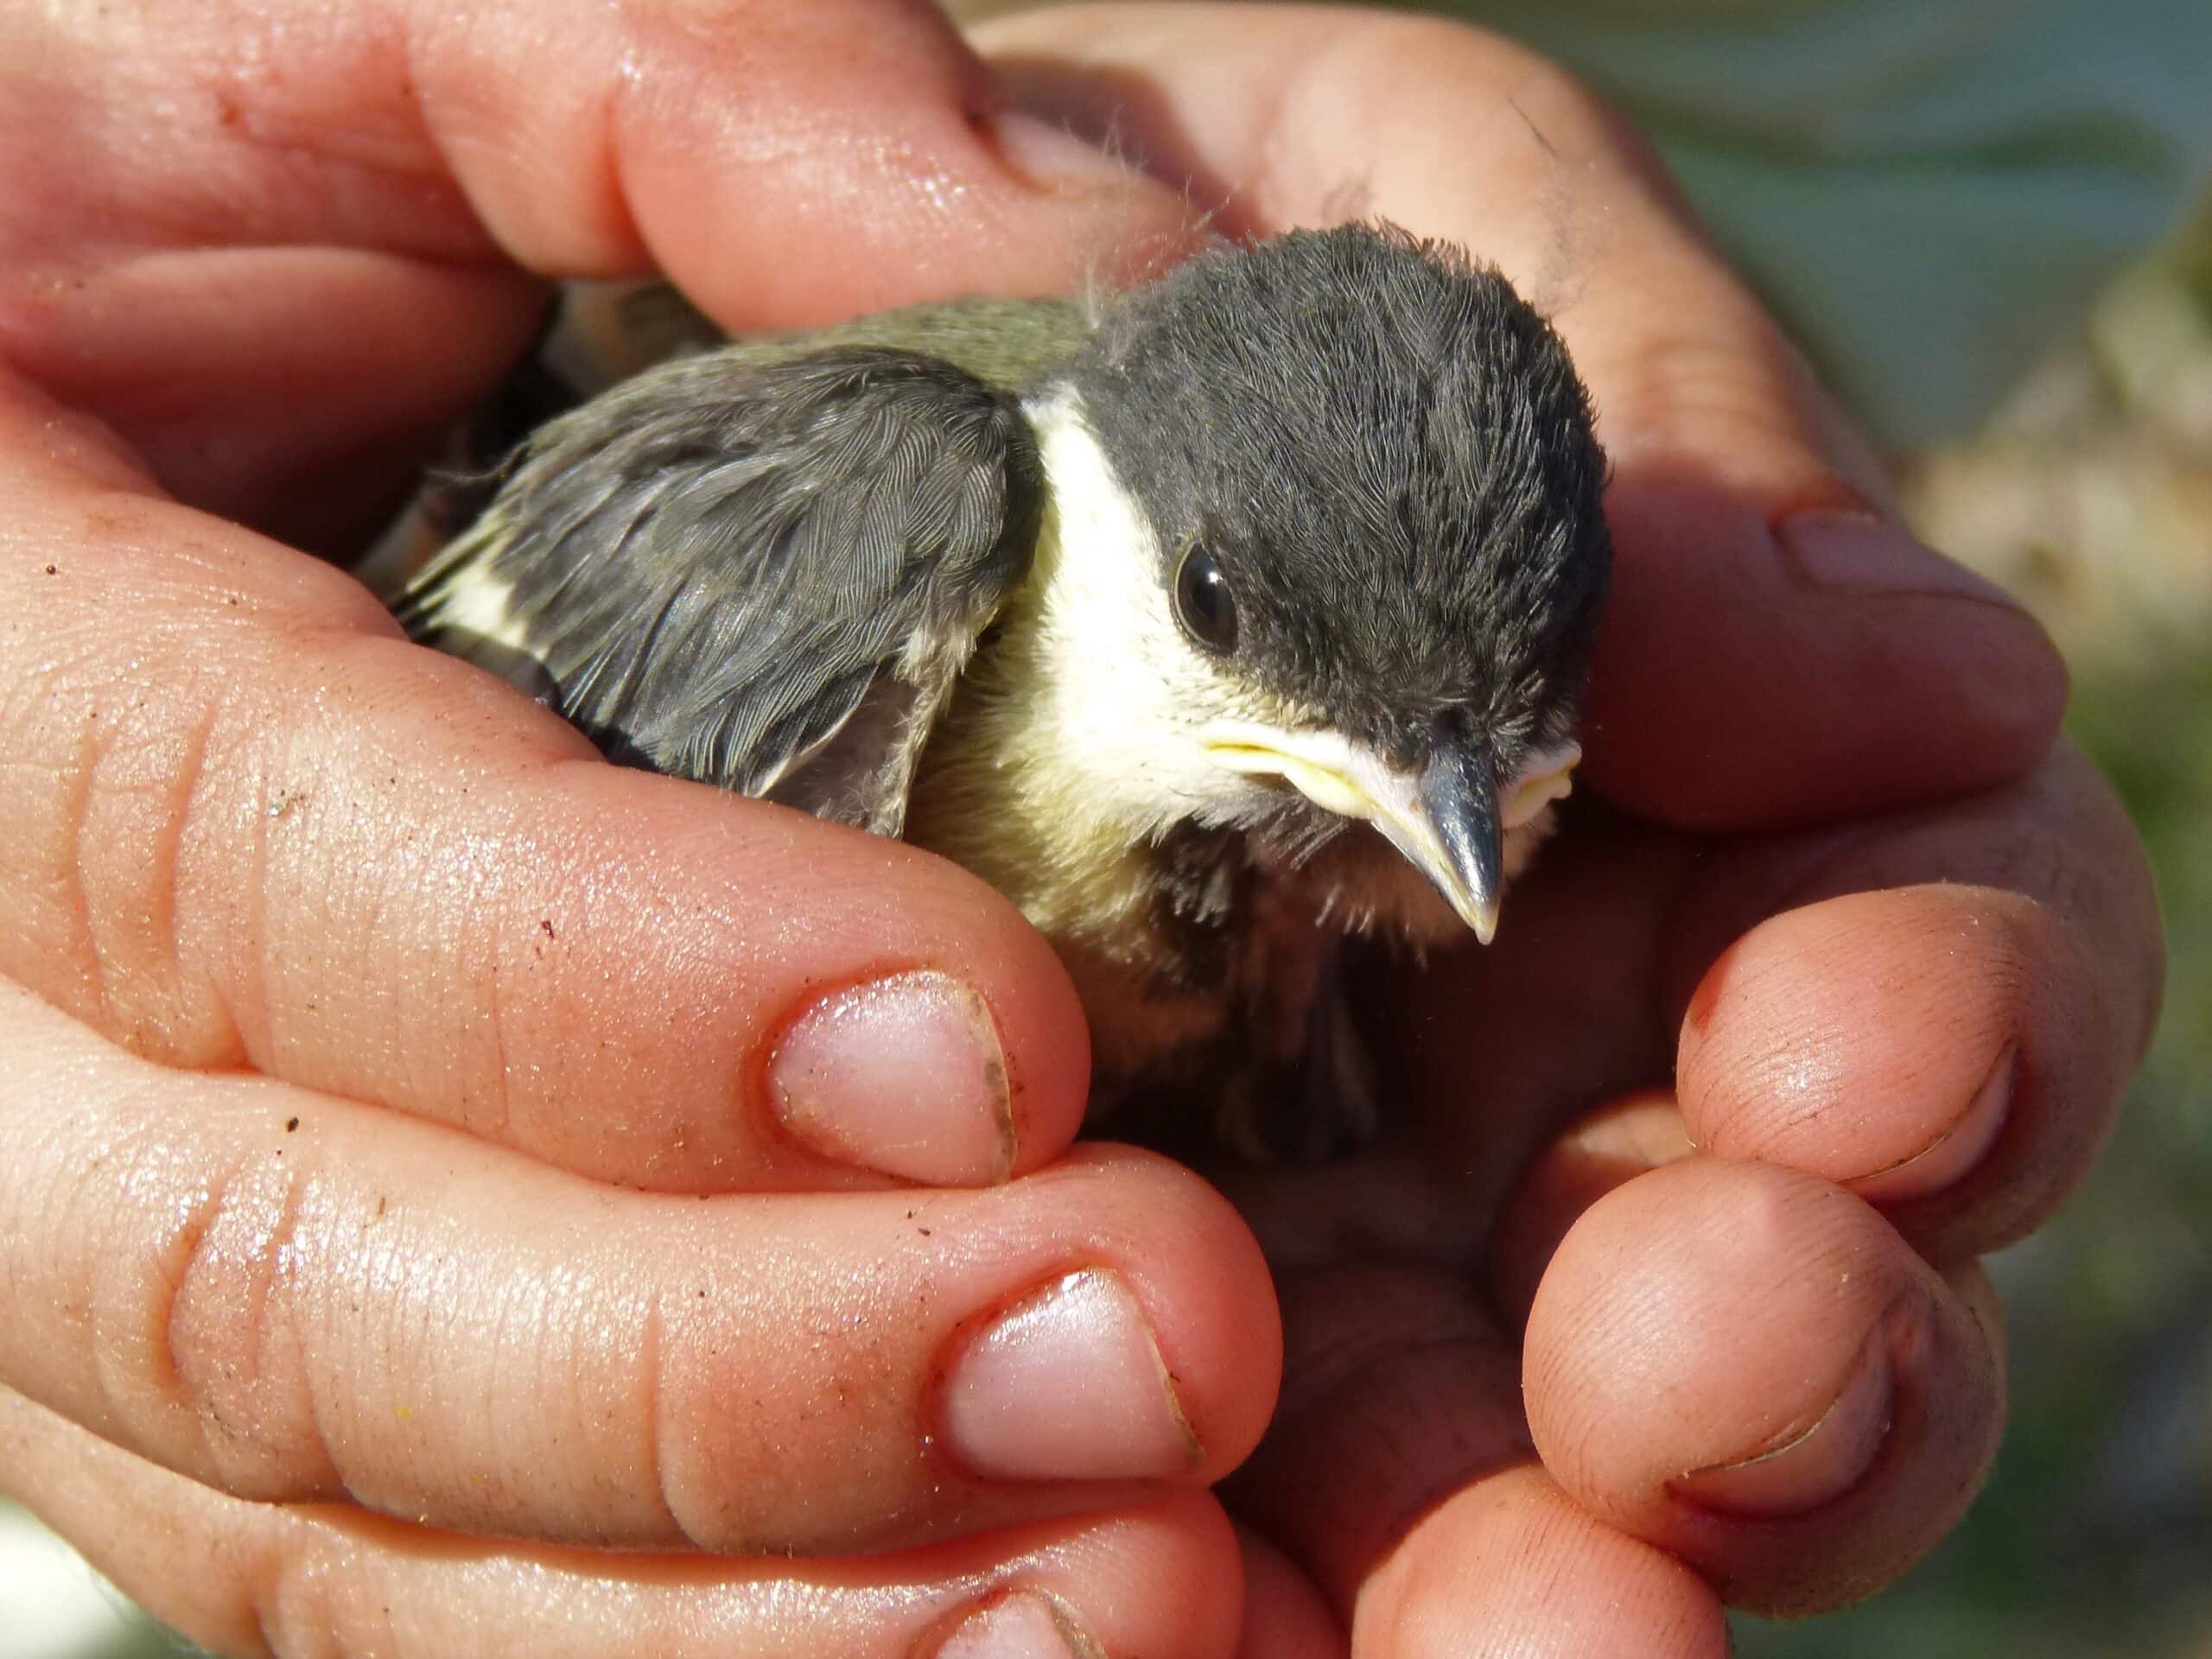
Performing CPR on a bird might seem strange, though, and it’s hopefully something that you will never have to do. Still, it is worth learning the steps of bird CPR, as the procedure can save your pet’s life in an unfortunate scenario. Your pet bird may need CPR if they suddenly collapse due to an unfortunate event, such as inadvertently chewing on an electrical wire and getting a shock, experiencing a heat stroke, or losing consciousness due to smoke inhalation.
The first thing that you should do if you ever see your pet bird pass out is rush them to the vet. However, you can first attempt CPR to give them a better chance of survival. If someone nearby can assist you, have them drive and/or call the vet as you attempt bird CPR. Time management is one of the best ways to improve the outcomes of an emergency.

How to Perform CPR on a Bird
1. Look for Signs of a Heartbeat
Look and listen carefully for signs of a heartbeat and breathing. Put your ear close to the bird’s chest to hear the heartbeat, and observe their breast to see if it is gently rising and falling—a sign of breathing. Another way to check is to place a compact mirror or glass directly under your bird’s nares (nostrils) and watch for any signs of condensation on the lens/mirror.
2. Clear Blockage (If Needed)
Open the bird’s beak to check for any blockages. If there is one, you try clearing it with your fingertip, a moist cotton swab, or a small, wet Q-tip. Be warned that if you use your finger, you might get bitten if your bird suddenly wakes up. This risk is greatest with parrots and rarely happens with songbirds. Do not attempt to force your finger into your bird’s mouth if it is too big for a comfortable fit.
3. Review If Assisted Breathing Is Required
After removing any possible obstruction from the mouth, check for signs of breathing. If your bird isn’t breathing but has a heartbeat, perform some rescue breaths.
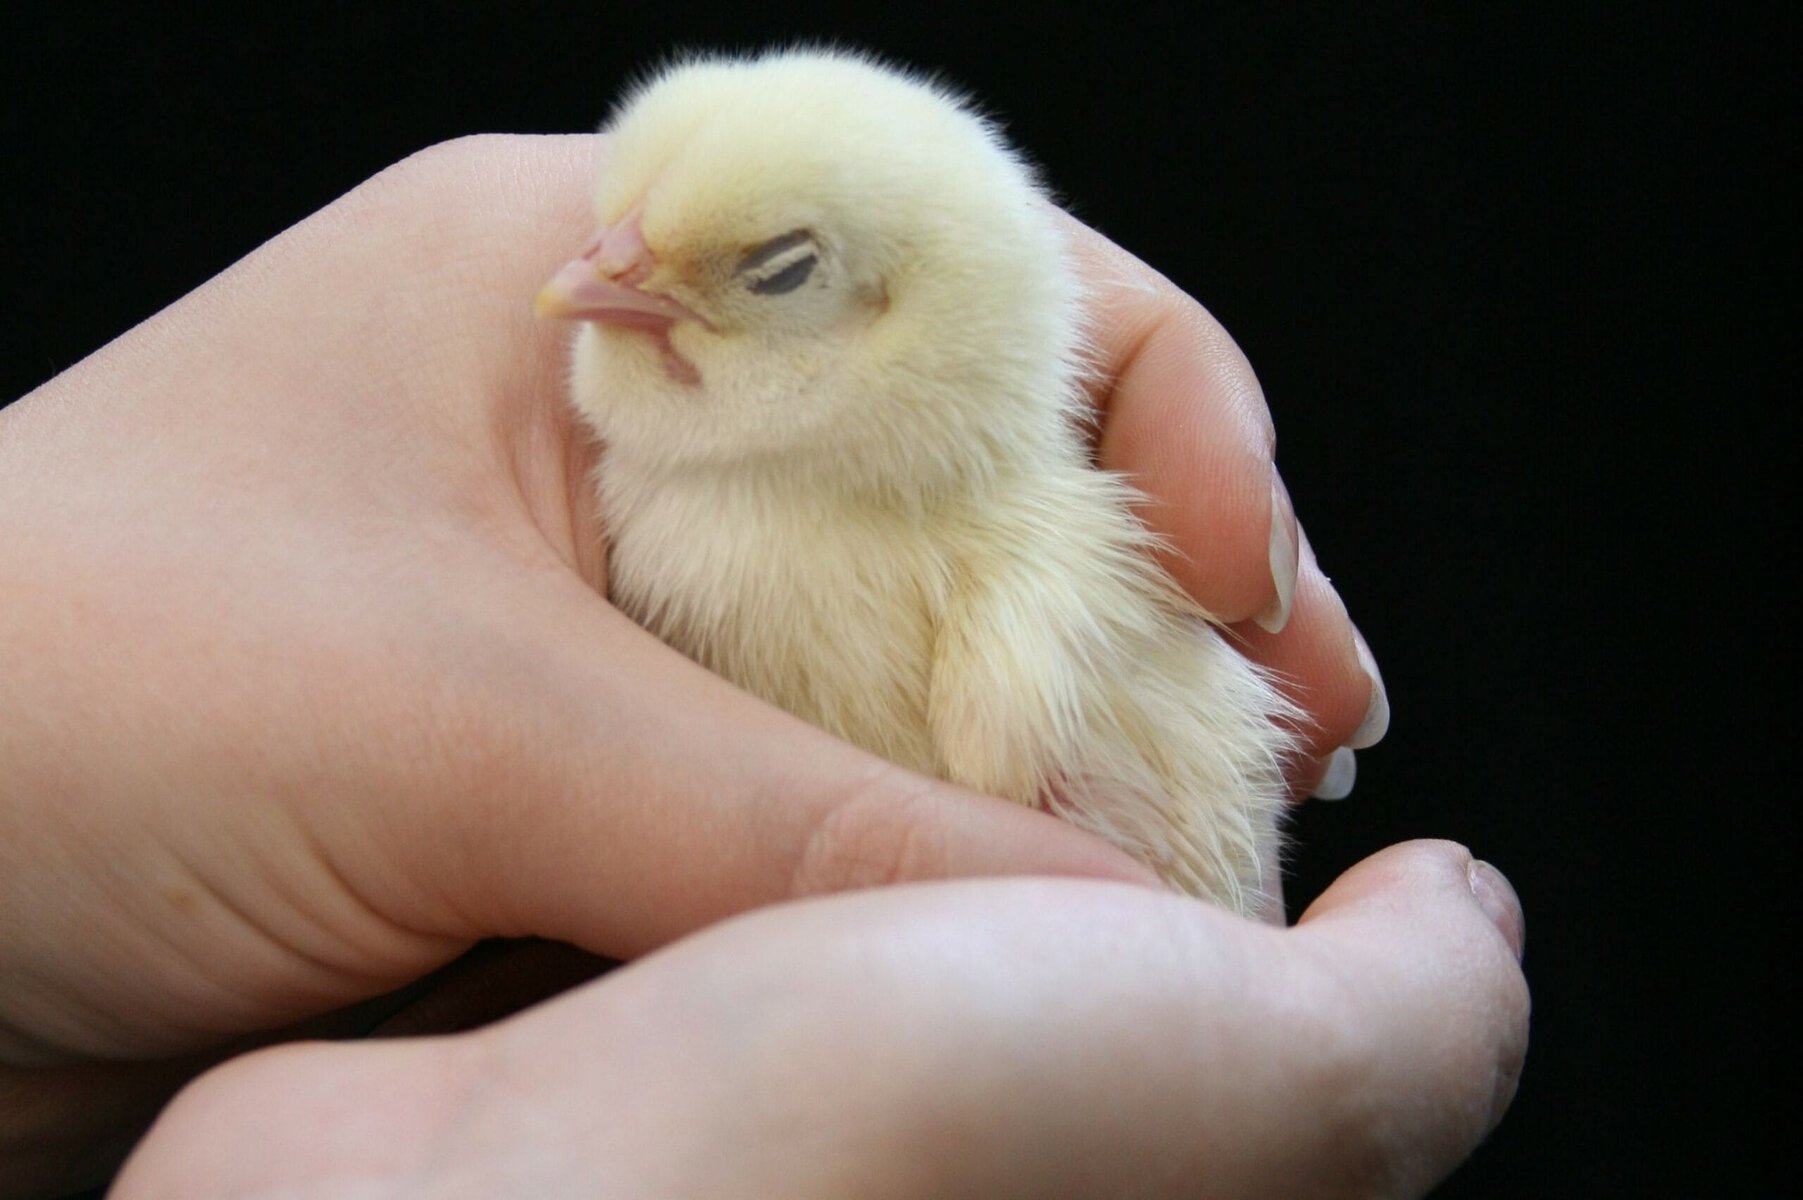
To do this, begin by supporting your bird’s head and body. For large birds, you should support the head with one hand and the body with your other hand. For small birds, you can support their head and entire body with the same hand.
Next, tilt the bird slightly away from you. Turn your head a quarter to the right or left, and begin respirations. For small birds, seal your lips around the beak and nares (nostrils). For large birds, seal your lips around the beak only, and cover the nares (nostrils) with an index finger. Now, you are ready to perform rescue breaths.
Intake a breath, and then deliver five quick breaths through your bird’s beak. The “strength” of each breath is determined by your bird’s size. For small birds, use small puffs of air, and for large birds, you will need slightly stronger puffs.
Determining the strength of a rescue breath definitely takes practice. However, a good indicator of your performance is looking for the rise of their sternum, or breastbone, for each short breath you deliver. The best place to visualize this is where the breastbone meets your bird’s stomach.
If their breastbone doesn’t rise with a rescue breath, it means you are either not getting enough air in or there is an obstruction somewhere along your bird’s airways. If the breastbone does rise with each short puff, deliver all five puffs, and then momentarily observe your bird to see if they begin breathing on their own.
If they don’t, give two more puffs and then reevaluate your bird. All the while, you should periodically observe and listen for a heartbeat. If your bird has a heartbeat, continue with the pattern of two puffs followed by observation until your bird either begins breathing on their own or you reach the vet.
4. Determine If You Need to Begin Chest Compressions
If your bird’s heartbeat stops while you’re delivering rescue breaths or there is no heartbeat to begin with, you will have to administer chest compressions. This requires a free hand, so at this point, you will have to place a large bird down while still supporting their head with one hand.
Depending on the size of your bird, place one to three fingers on your bird’s sternum. For small birds, such as a budgie/budgerigar or a lovebird, one finger is usually enough. For a medium-sized bird, such as a cockatiel or rainbow lorikeet, you will need two fingers. For large birds, such as a scarlet or hyacinth macaw, African grey, or a cockatoo, you will need three fingers. You will need to administer 40 to 60 compressions to your bird per minute by pressing on their breastbone. Small birds have a higher heart rate and need more compressions than larger birds. Therefore, a convenient system to remember is that the fewer fingers you place on your bird’s sternum, the more compressions you give per minute.
By depressing your bird’s breastbone, you will move blood through the underlying tissues and hopefully, their heart. This also has a slight learning curve, and you can adjust the pressure that you apply as needed. Although you need to administer 40 to 60 compressions per minute, you should also not stop giving rescue breaths to your bird while you do so.
A good system to follow for a bird with no heartbeat is this:
- Giving five puffs of breath, followed by 10 compressions with your finger(s)
- Then doing two breaths, 10 compressions, two breaths, and 10 more compressions and continuing this for a minute
- Re-evaluating your bird after a minute or so.
5. Continue Assisted Breathing/Compressions
Keep up a consistent pattern of rescue breaths and 10 compressions until your bird regains consciousness or you reach your veterinarian’s office. If your bird does recover at some point and is breathing on their own with a heartbeat, wrap them in a blanket or towel, and continue your trip to the vet.
What Do You Need to Be Mindful Of?
Pet birds are relatively frail, and the biggest challenge while providing CPR to your bird is making sure you apply just enough pressure to stimulate their heart without causing injury to their sternum, keel, or ribs. This often comes with practice, but it is best to remember to not become overzealous with your compressions and to follow the finger guidelines to the best of your ability.
If your bird starts breathing again on their own, place them in a warm, quiet environment, and take them to your vet for an examination.
It is critical to keep in mind that you should never practice CPR or rescue breaths on your pet bird if they don’t need them! In other words, do not attempt them on your conscious, normal pet bird that is breathing on their own. Practice models can purchased online, or a plushie can be as a great reference to practice on. Additionally, do not attempt CPR or assisted breathing on any wild birds; simply report their location to your local area’s animal services. For the safety of everyone, cases involving wildlife are best left to the relevant authorities only.

Final Thoughts
CPR is a useful technique that every pet owner should know and strive to practice whenever possible. It’s one of the techniques that we hope never to use, but it’s always best to know what to do just in case. The principles of CPR on a bird aren’t much different from resuscitating another animal or person, except for the adjustments that you’ll need to make to accommodate your pet’s size. Always remember to speak to your vet about CPR and other emergency resuscitation practices you should be mindful of for your pets.
See also: How to Do Cat CPR?
Featured Image Credit: Rodica Vasiliev, Shutterstock